As a child, I was terrified of bees. I had a tendency to get stung whenever they came around, because of how I reacted to them. Since taking up gardening, I've learned a lot about them, and how to coexist with them easily. It is fun to watch them work, and I love seeing them in my garden.
When I began to practice color work with knitting, I decided to design my own little pattern for a hat with bees on it. This little hat came out of my process, and knits up very quick in the super bulky yarn! I have not had this pattern tested as I'm still new to this whole process, so, if you decide to try it, I would really love to know how it works for you. It turned out great for me, so I'm hopeful it will be an easy project for you. Any feedback would be very appreciated! I am so excited to share my very first knitting pattern with you!
1 ball Lion Brand Wool-Ease Thick & Quick yarn (106 yds) - Black
1 ball Lion Brand Wool-Ease Thick & Quick yarn (106 yds) - Butterscotch
1 ball Lion Brand Wool-Ease Thick & Quick yarn (106 yds) - Fisherman
9mm circular 16" knitting needles
9mm circular 16" knitting needles
10mm circular 16" knitting needles
10mm double pointed needles (as needed)
Stitch Markers
Large yarn needle or crochet hook to weave in ends
10mm double pointed needles (as needed)
Stitch Markers
Large yarn needle or crochet hook to weave in ends
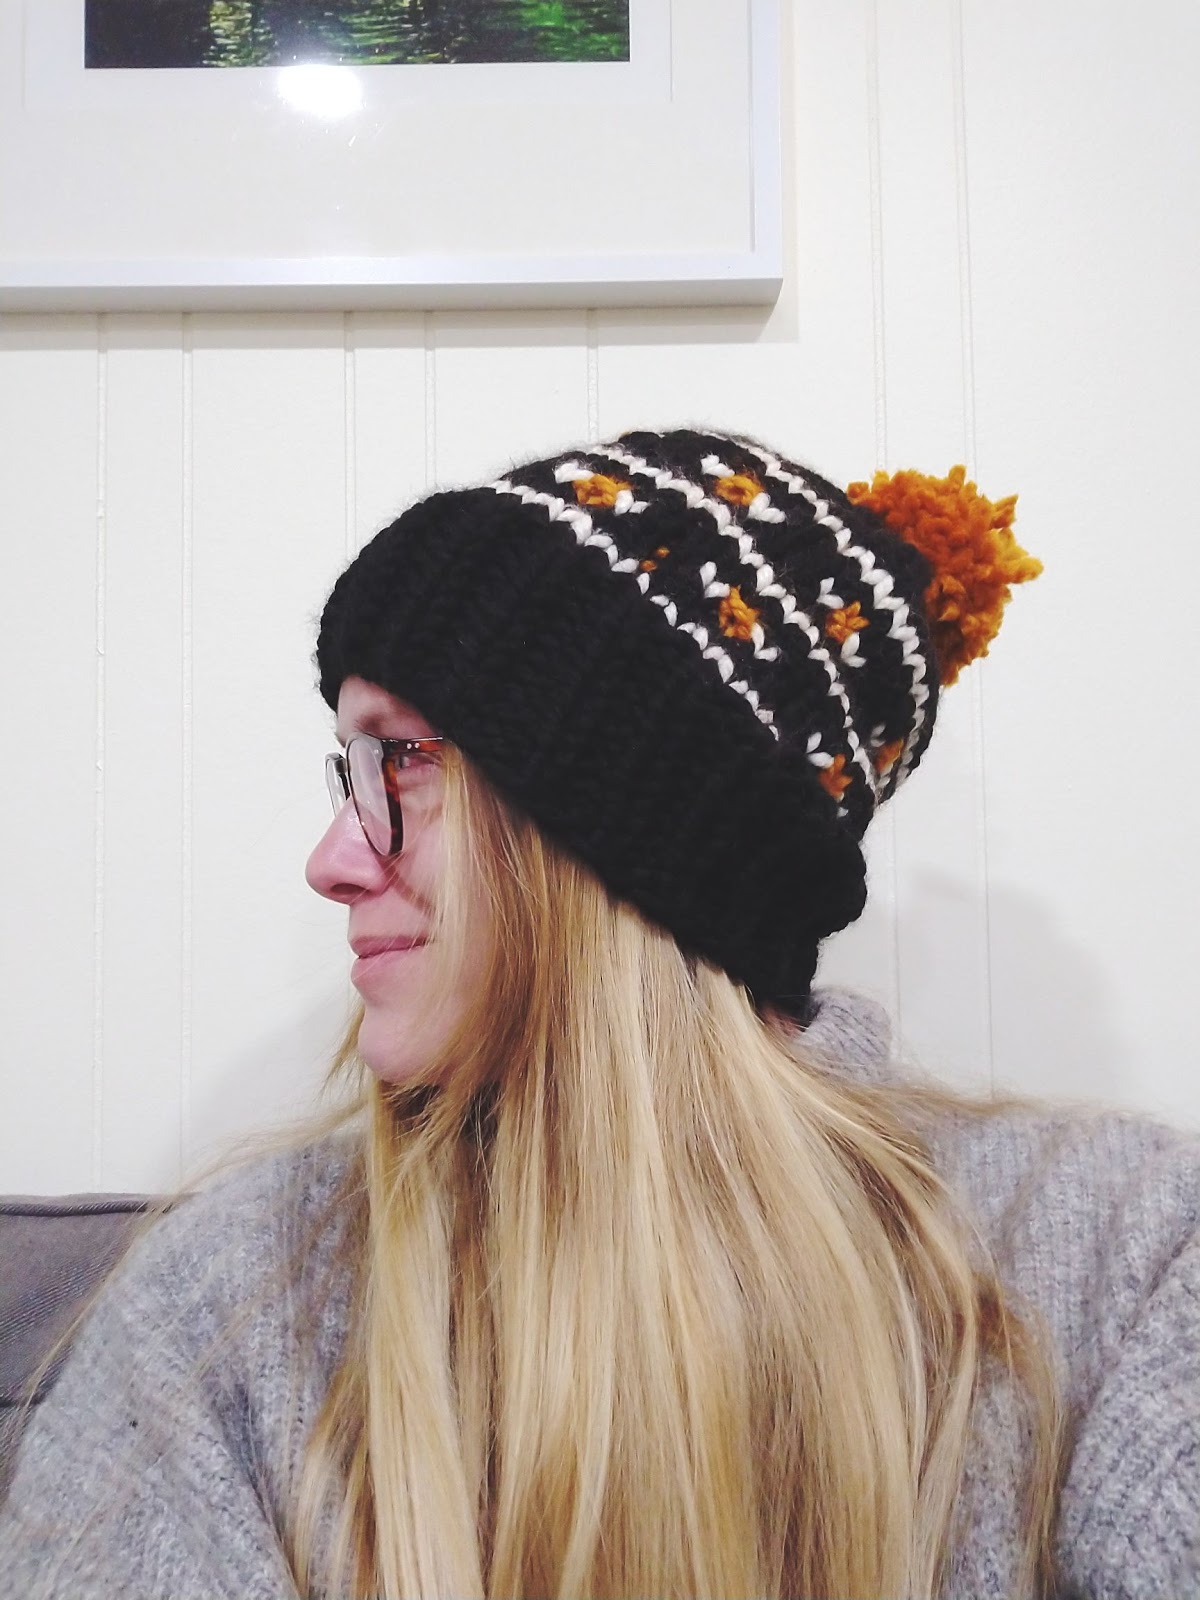
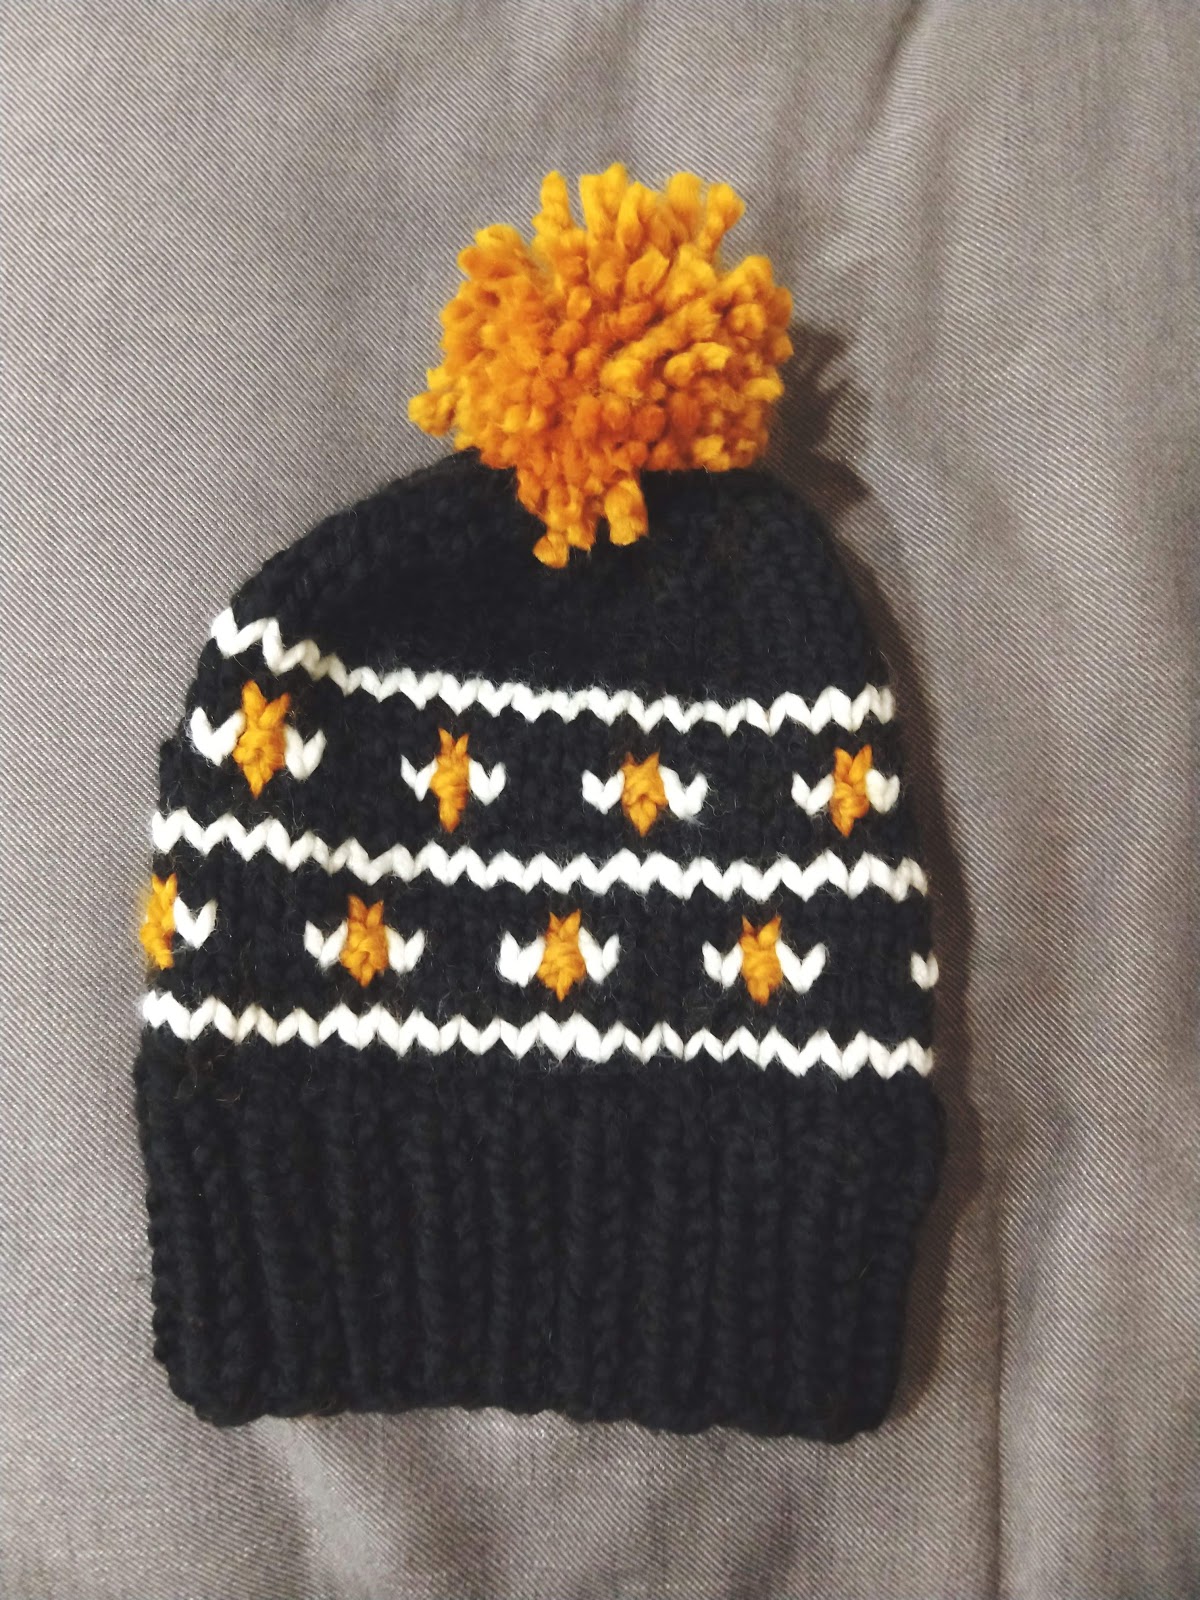
The Chunky Bee Knit Hat is an adult-sized chunky, slouchy knit hat with a color pattern around part of the hat body. It is a quick knit on super bulky yarn, only taking a few hours! It is knit in the round from the bottom up, starting with 1x1 ribbed band, and then transitions to the stockinette hat body with color pattern. There are also a few purl stitches forming the middle of the bee bodies.
The ribbed band is about 3" tall, but can be modified by adding or subtracting rounds for however much ribbing you'd like. To make the hat more or less slouchy, add or subtract rounds from the body.
The color pattern for the hat body is worked on a 10 stitch repeat over 12 rows using the fair isle yarn carrying technique. When working the color pattern, make sure not to pull the strands too tight, as the hat won't stretch, and the fit will be off. An easy way to avoid this is to make sure the stitches are spaced apart on the right hand needle as you work through the pattern.
The hat is finished with a large yarn pom pom. Finished dimensions: 17 inches in circumference, 10.5 inches in height
This is a great tutorial, to learn fair isle technique.
This is a great tutorial for making a pom pom. I wrapped the yarn around four fingers to make mine. You'll want to go fairly thick in order to get a nice big pom pom. You an also use a pom pom maker.
Definitions:
K - Knit
P - Purl
K2tog - Knit 2 stitches together
Sts - Stitches
Using 9 mm needles, cast on 40 stitches with the color Black. 1x1 Rib cast on recommended, but Long Tail works well, too. Join in the round, and place marker for beginning of round.
Hat Ribbing
Rounds 1-10: *K1, P1* around. (40 sts)
We will now begin the hat body. Switch to 10 mm needles.
R11: Knit around. (40 sts)
R12: Switch to Fisherman. Knit around. (40 sts)
Rounds 1-10: *K1, P1* around. (40 sts)
We will now begin the hat body. Switch to 10 mm needles.
R11: Knit around. (40 sts)
R12: Switch to Fisherman. Knit around. (40 sts)
We will now begin the color pattern. Rounds 13-24 makeup the chart. You can skip to the chart below, or use the written instructions here. If using the chart, just remember it starts from the bottom right. And all stitches are knits, except the ones with a dot in the middle. The dots are purl stitches.
R13: Switch to Black. Knit around. (40 sts)
R14: *K2 Black, K1 Butterscotch, K4 Black, K1 Butterscotch, K2 Black*, carrying yarn strands in back of stitches. Repeat 3 more times around until end. (40 sts)
R15: *K1 Black, K1 Fisherman, P1 Butterscotch, K1 Fisherman, K2 Black, K1 Fisherman, P1 Butterscotch, K1 Fisherman, K1 Black*, carrying yarn strands in back of stitches. Repeat 3 more times around until end. (40 sts)
R16: Repeat Row 14.
R17: Repeat Row 13.
R18: Using Fisherman color, Knit around. (40 sts.)
R19: Repeat Row 13.
R20: *K1 Butterscotch, K4 Black, K1 Butterscotch, K4 Black*, carrying yarn strands in back of stitches. Repeat 3 more times around until end. (40 sts)
R21: *P1 Butterscotch, K1 Fisherman, K2 Black, K1 Fisherman, P1 Butterscotch, K1 Fisherman, K2 Black, K1 Fisherman*, carrying yarn strands in back of stitches. Repeat 3 more times around until end. (40 sts)
R22: Repeat Row 20.
R23: Repeat Row 13.
R24: Repeat Row 18.
 All rows use Black color only, from here on out.

Rounds 25-30: Knit around. (40 sts)
R31: *K3, K2tog*, repeat 8 times. (32 sts).
R32: Knit around. (32 sts)
R33: *K2, K2tog*, repeat 8 times. (24 sts)
R34: Knit around. (24 sts)
R35: *K1, K2tog*, repeat 8 times. (16 sts)
Cut yarn and thread tail through the remaining stitches. Pull tight to close hat, tie knots and weave in ends.
R32: Knit around. (32 sts)
R33: *K2, K2tog*, repeat 8 times. (24 sts)
R34: Knit around. (24 sts)
R35: *K1, K2tog*, repeat 8 times. (16 sts)
Cut yarn and thread tail through the remaining stitches. Pull tight to close hat, tie knots and weave in ends.
Attach large yarn pom pom in Butterscotch.
Let me know if you have any questions on this pattern, or feel free to give me feedback on it, by commenting below. Also, feel free to tag me in any Instagram posts by using #chunkybeeknithat or tagging me @lanathegardener. You can also find this pattern linked on Ravelry, here.
Let me know if you have any questions on this pattern, or feel free to give me feedback on it, by commenting below. Also, feel free to tag me in any Instagram posts by using #chunkybeeknithat or tagging me @lanathegardener. You can also find this pattern linked on Ravelry, here.


Do you mean size 9 and 10 needles or actually mm so I need to convert to needle size? Love the pattern.
ReplyDeleteSorry for the delayed response, but the needles are listed in millimeters sizing, not the numbered sizing.
DeleteNice
ReplyDeleteWhat an awesome hat!
ReplyDeleteNext on my to-do.
Let me know how it turns/turned out for you. Thanks!
Delete